WiFi Not Working on Mac
The problem of Mac Not Connecting to WiFi Network could be due to a variety of reasons, ranging from minor software glitches and Network connectivity issues to the DNS Server of your Internet Service provider becoming over-crowded. In most cases, this problem can be fixed by using troubleshooting steps as provided below.
1. Reboot Your Mac
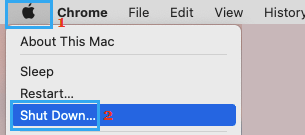
Click on Apple Icon in top-menu bar and select Shut Down option in the drop-down menu.
Wait for your Mac to completely Shut down > after 30 seconds press the Power button to Restart and you might be surprised to see WiFi working on your device.
2. Power Cycle Modem/Router
Before going ahead with other steps, make sure that you try this simple troubleshooting fix. Disconnect the Modem/Router from its Power Supply source. You can either pull out the cable from Wall Socket or use the ON/OFF switch (If available). Wait for 60 seconds and connect the Modem/Router back to its power supply.
3. Add WiFi Network
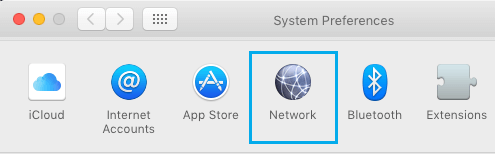
It is possible that an active WiFi Network was not created or is not available for selection on your Mac. Click on Apple Logo in top-menu bar and select System Preferences in the drop-down menu and click on the Network icon.
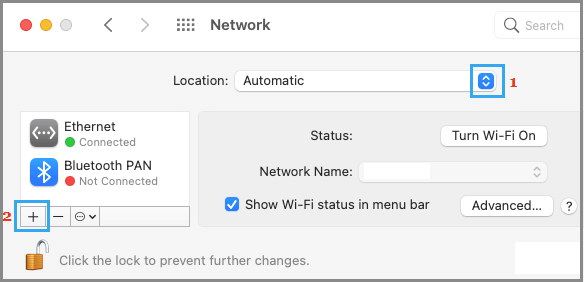
On the next screen, see if WiFi Network is listed in the side-menu. If it is not listed, select Automatic Location and click on the + icon.
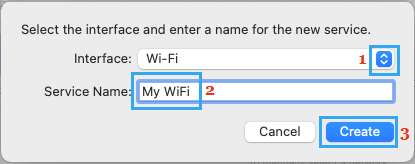
On the pop-up, select Wi-Fi as the Interface, type a Name for the WiFi Network and click on Create.
If prompted, enter the Password for your WiFi Network.
4. Renew DHCP Lease
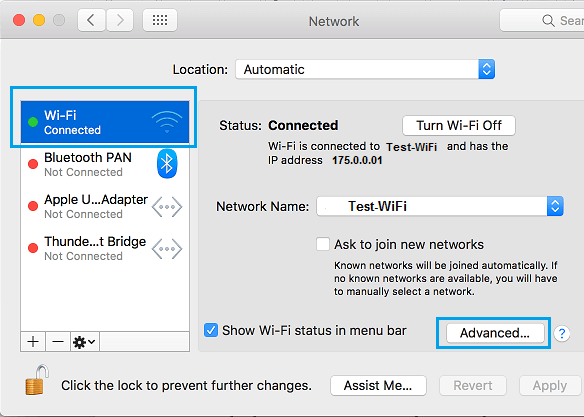
Click on Apple Logo in top-menu bar > System Preferences > Network > select your WiFi Network in the left-pane. In the right-pane, scroll down and click on Advanced button.
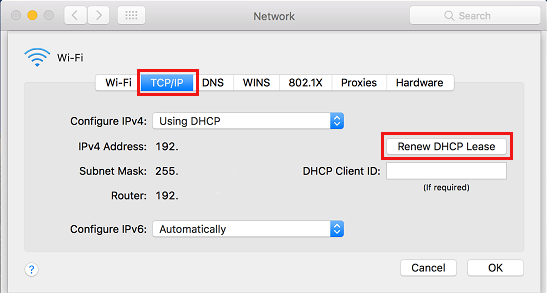
On the next screen, switch to TCP/IP tab and click on Renew DHCP Lease button.
Click on OK to save the revised DHCP Settings on your computer and close Network Settings screen.
5. Disconnect Bluetooth
Sometimes, Bluetooth can interfere with WiFi Network and users have reported fixing the problem by temporarily disabling the Bluetooth on their computer. Click on Bluetooth Icon located at top-right corner of your screen and move the Bluetooth toggle to OFF position.
Restart your Mac and see if you are now able to connect to WiFi.
6. Remove WiFi Network and Reconnect
Click on the Apple Logo in top-menu bar > System Preferences > Network > select your WiFi Network in left-pane. In the right-pane, scroll down and click on the Advanced button.
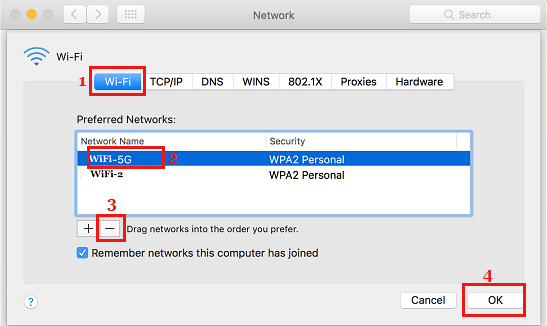
On the next screen, select the WiFi Network that you want to forget and click on the minus (-) sign. Click on OK to save this setting and close the Network screen.
After this, click on WiFi Icon located at top-right corner of your screen and select your WiFi Network in the drop-down menu.
When prompted, enter your WiFi Network Password to join this WiFi Network.
7. Change DNS Servers
If you are frequently experiencing WiFi connectivity problems on your Mac, the issue might be related to DNS server of your Internet Service Provider (ISP) being crowded.
How to Improve MacBook Battery Life How to Speed Up Slow Safari Browser on Mac